How to Get All Security Clearance Levels in Resident Evil Requiem
Locked Security Points in Resident Evil Requiem are intentionally frustrating early on. You’ll encounter sealed doors everywhere inside the Care Center long before the game allows you to open them. The real progression system isn’t weapons or puzzles — it’s security clearance levels.
If you want full map access, hidden upgrades, and story progression, you must obtain Level 1, Level 2, and Level 3 ID Wristbands. This expert guide explains every step efficiently, including required key items, puzzle flow, and related safe locations players frequently miss.
This walkthrough is optimized for experienced players who want the fastest and safest progression path.
Understanding Security Clearance in Resident Evil Requiem
Security clearance acts as a tiered access system throughout the Care Center. Each level unlocks new wings, puzzles, and essential story triggers.
You cannot obtain any clearance until reaching the East Wing, meaning earlier locked doors are deliberate backtracking design.


Clearance Levels Overview
| Clearance Level | Unlocks | Required For |
|---|---|---|
| Level 1 | West Wing Security Points | Organ puzzles & exploration |
| Level 2 | Isolation Ward | Final clearance progression |
| Level 3 | Full Care Center access | Story advancement & Emily rescue |
Players often waste time exploring prematurely. Progression becomes efficient once you follow the correct order below.
When Security Clearance Becomes Available
Security access begins only after:
- Opening the Unicorn Door
- Entering the Parlor
- Obtaining the East Wing access keycard
From this moment onward, the Care Center becomes a layered puzzle hub instead of a linear horror section.
Level 1 Security Clearance Location (ID Wristband Level 1)
Your first upgrade is found in the East Wing second floor near the Lead Researcher’s Office.
How to Reach Level 1 Wristband
- Enter the East Wing.
- Move through:
- Examination Room
- Treatment Room
- Head south past the Waiting Room.
- Go upstairs to the second floor.
- Locate the body outside the Lead Researcher’s Office.
The wristband sits on a headless corpse.
Immediately after picking it up, a powerful enemy called Chunk appears. Escape instead of fighting unless fully prepared.
Expert Tip
Search the Lead Researcher’s Office before grabbing the wristband. Once Chunk spawns, exploration becomes far riskier.
Important Items You Should Collect First
Inside the Lead Researcher’s Office you’ll find:
- Puzzle box
- Leatherbound notebook
- Instructions for opening the Organ Transport Box
These documents are mandatory for Level 2 progression later.
Skipping this step causes unnecessary backtracking.
What Level 1 Clearance Unlocks
After equipping the Level 1 wristband, new routes open:
- West Wing Security Point near Kitchen
- Garage access
- Custodian’s Office
- Cold Storage route
This phase transitions gameplay from survival horror into puzzle-solving exploration.
Level 2 Security Clearance (ID Wristband Level 2)
Level 2 is not found directly — it must be created through one of RE9’s most memorable mechanics: organ reconstruction.
You must revive a corpse in the Examination Room.
Required Items
- Artificial Lungs
- Artificial Heart
Only after installing both organs can you obtain Level 2 clearance.
Step 1: Get the Artificial Lungs
- Use Level 1 clearance south of the Kitchen.
- Enter the Garage.
- Pick up the Organ Transport Box.
- Solve the puzzle using notebook instructions.
Opening the box rewards the Artificial Lungs.
Step 2: Get the Artificial Heart
Head to Cold Storage in the West Wing.
- Use tools obtained earlier (like the wrench).
- Open the Cold Storage door.
- Collect the Artificial Heart hanging inside.
This item is required for the Examination Room sequence.
Step 3: Revive the Examination Room Corpse
Return to the East Wing Examination Room.
- Insert both organs.
- The corpse reanimates.
- Defeat the enemy.
- Loot the Level 2 ID Wristband.
The encounter may trigger nearby enemies, so clear the room beforehand.
Level 3 Security Clearance (Final Wristband)
Level 3 is obtained through story progression rather than combat.
How to Get Level 3 Clearance
- Use Level 2 access near the Isolation Ward.
- Move through the ward toward the Security Manager’s Office.
- Examine the corpse slumped over the desk.
- A cutscene begins.
- Receive the Level 3 wristband automatically.
This unlocks full access across the Care Center.
What Level 3 Clearance Unlocks
Level 3 allows you to:
- Open all remaining Security Points
- Access locked cells
- Free Emily in the Medication Room
- Progress the main story
This marks the end of the Care Center progression arc.
Safe Codes You Should Unlock During Clearance Progression
Many players search safe solutions while pursuing security upgrades. These safes provide Antique Coins and critical resources.
Below are the most searched RE9 safe codes.
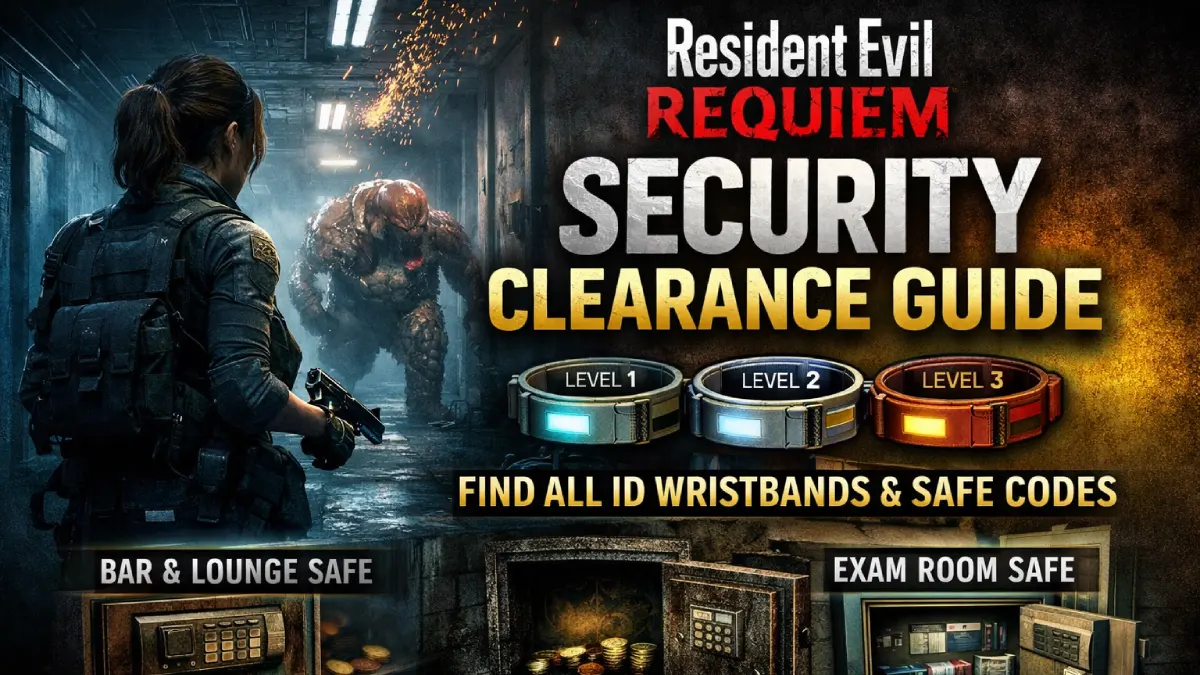
Bar & Lounge Safe Code (RE9)
Keywords covered:
re9 safe code bar and lounge, bar lounge safe code re9, re9 lounge safe code, re9 bar safe code, bar safe code re9, re9 safe code bar
Location: West Wing Bar & Lounge
Code:
- 10 Left
- 80 Right
- 30 Left
Reward: Antique Coins.
This safe becomes accessible shortly after gaining Level 1 clearance.
Examination Room Safe Code
Keywords covered:
examination room safe code, examination room safe code re9, re9 safe code examination room
Location: East Wing Examination Room
Code:
- 30 Right
- 10 Left
- 50 Right
Reward: Antique Coins.
Players commonly unlock this while preparing the Level 2 wristband.
Basement Safe Code (RE9)
Keywords covered:
re9 basement safe code
Located later in the Care Center basement after character progression switches.
Rewards include:
- Handgun ammo
- Map upgrades
- Collectible hints
Basement safes become accessible after deeper story advancement.
Optimal Progression Route (Pro Strategy)
Follow this order to avoid unnecessary enemy encounters:
- Reach East Wing.
- Search Lead Researcher’s Office.
- Collect Level 1 Wristband.
- Unlock West Wing paths.
- Obtain Artificial Lungs.
- Retrieve Artificial Heart.
- Revive Examination Room corpse.
- Get Level 2 Wristband.
- Enter Isolation Ward.
- Acquire Level 3 Wristband.
This minimizes backtracking and inventory pressure.
Common Mistakes Players Make
Picking Up Level 1 Too Early
Triggers Chunk before preparation.
Ignoring Puzzle Files
Organ box cannot be solved without notebook clues.
Fighting Every Enemy
Many encounters are designed for avoidance, not combat.
Missing Safe Codes
Safes provide upgrade currency critical for harder difficulties.
Advanced Gameplay Insight
Resident Evil Requiem uses security clearance as environmental storytelling. Each upgrade reflects deeper experimentation themes within the Care Center:
- Level 1 = Access
- Level 2 = Reconstruction
- Level 3 = Control
Understanding this design helps predict puzzle placement and progression logic.
Final Thoughts
Obtaining all security clearance levels in Resident Evil Requiem is less about combat skill and more about systematic exploration.
The Care Center rewards players who:
- Read files carefully
- Plan routes efficiently
- Delay risky triggers
- Combine puzzles logically
Once you secure Level 3 clearance, the entire facility opens — transforming previously frustrating locked doors into rewarding shortcuts and narrative payoffs.
Master the clearance system, and the Care Center becomes one of RE9’s most satisfying sections rather than its most confusing